Showing posts with label Dervish. Show all posts

Tuesday, June 25, 2019

The continuing tales of the False Prophet of the San Juans


Rebellion is rife in the San Juans as the False Prophet spreads his call for a holy war to eradicate the foreign invaders and free his people.

This evening we were short on numbers with Only Shaun, Mike, Dave and myself but we had enough to play out the endo of the campaign turn and generate a battle.

Shaun amd Mike played the Imperials whilst Dave and I played the Dervish.

After the last kicking and untimely demise of Gordon of Kartoon, His Excellency Shuan Ulrikakakaka Mutton KFC gatherered together more forces and headed to the easier target of Port Stanley in an effort to quell rebellion there.


Port Stanley awakes to see Gunships and transports in the bay.


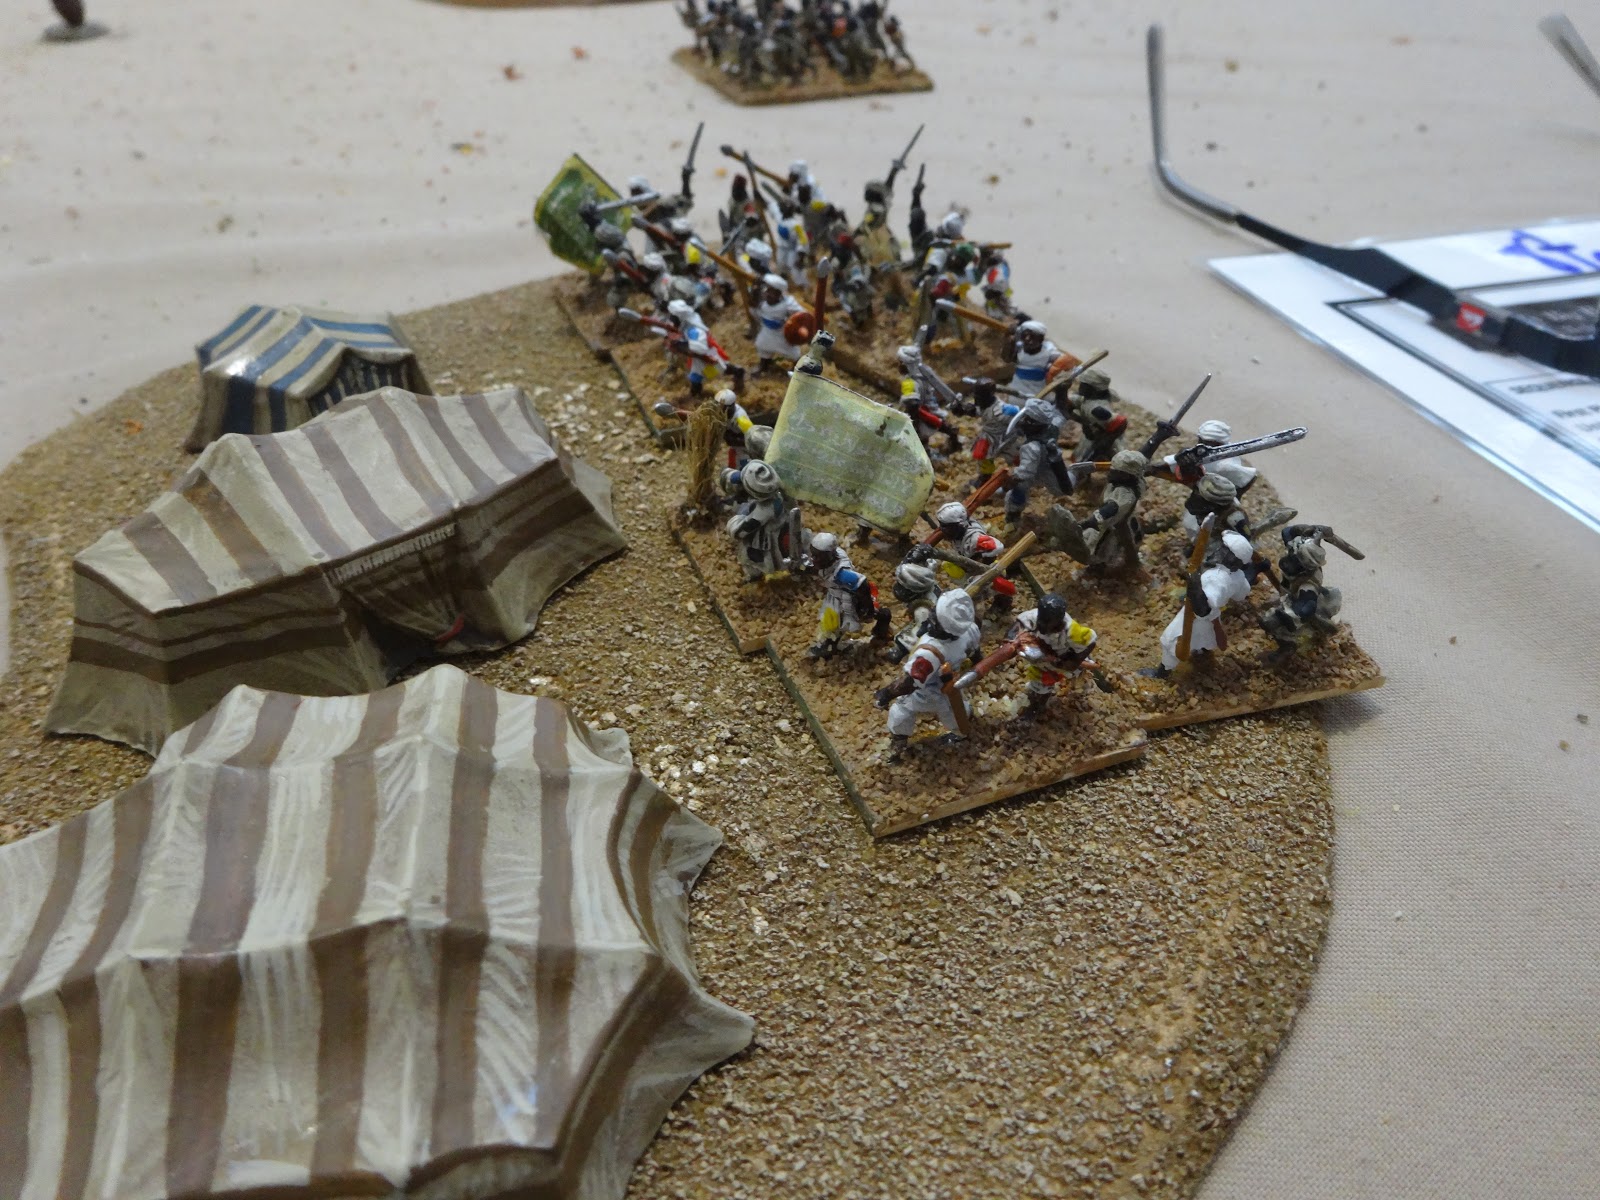
North of the town the Shepherd watches his flock and the tents of the traders begin to bustle with the rising sun.


Rise my children! The enemy is upon us!


Send word and call in all the local tribes!


We shall hold this town in the name of Allah!!


Oops.


The Infidels disembark.


God is great! The cavalry has arrived!


Throw them back into the sea!!


Crush them!!


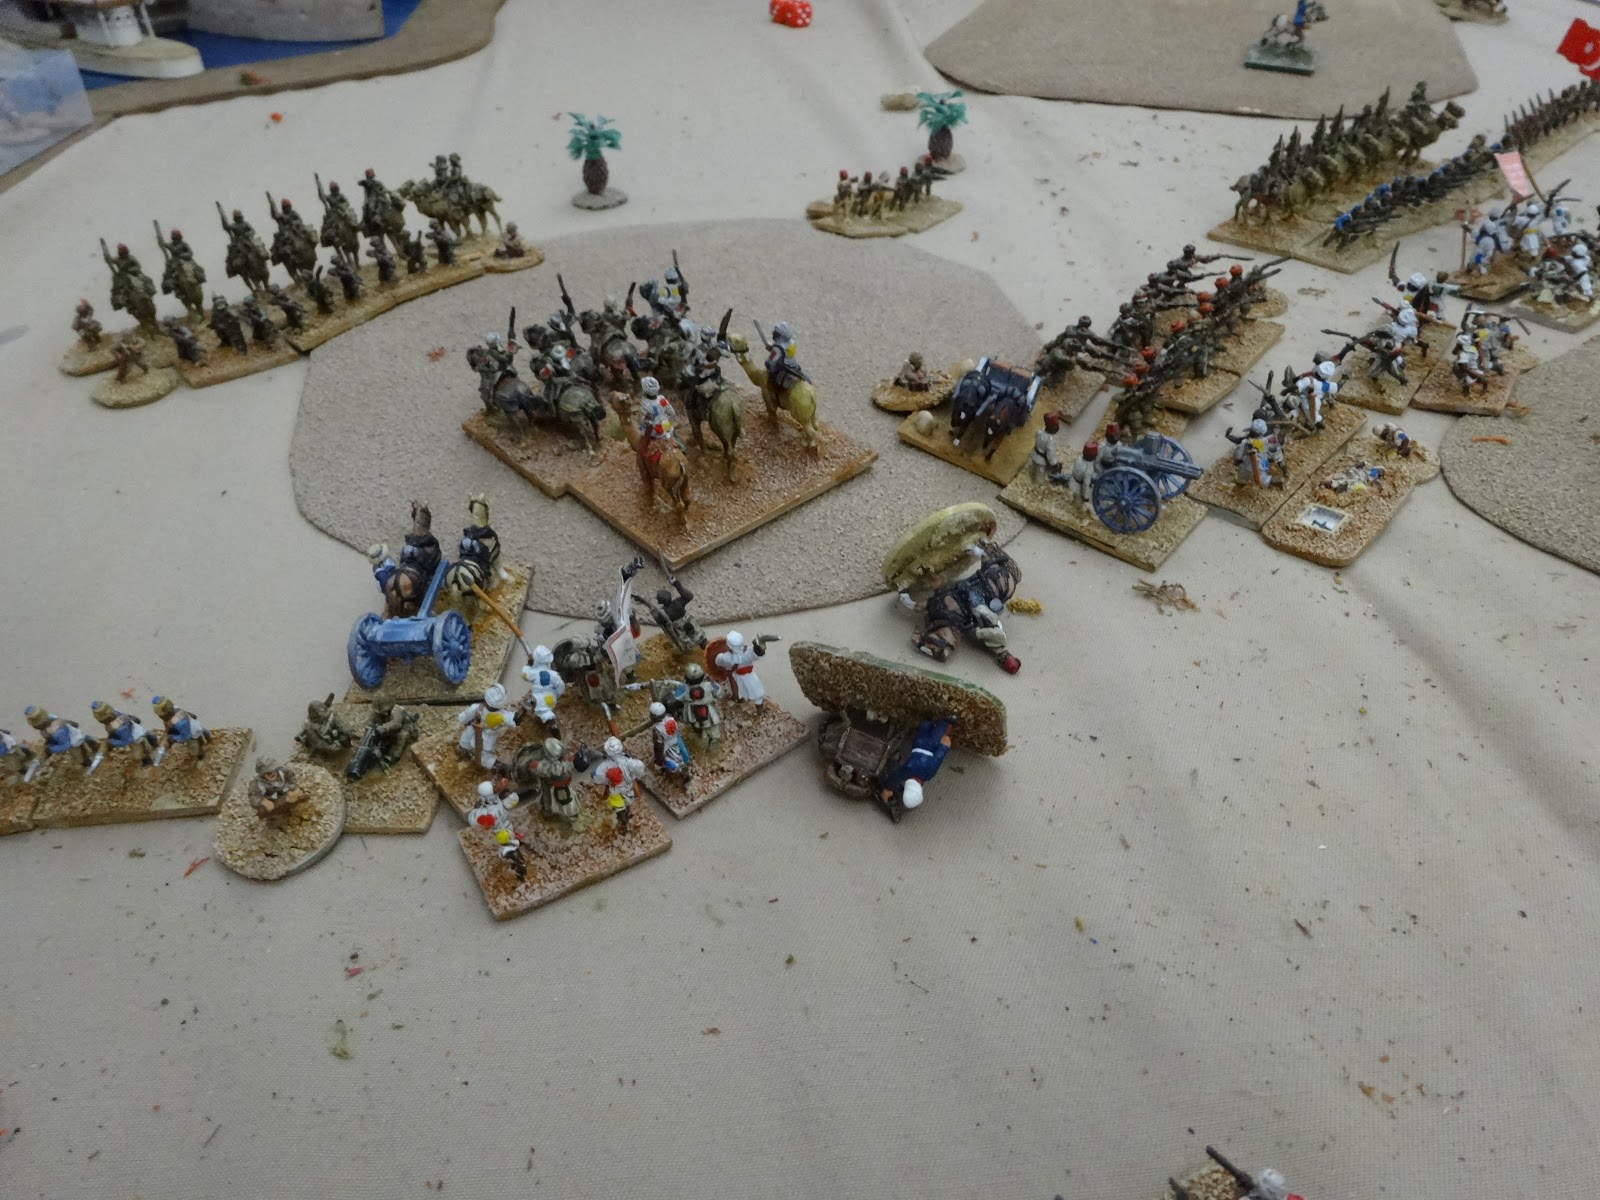
Hmmm... Charges not quite working as planned.


Kill them all!!


Anyone? Hello?


Ah, just us left then.


So in a break of tradition the Egyptians deployed in depth and protected their flanks, they were helped by the narrow table but they did everything right given the conditions. The Dervish had chances but failed in critical melees to break through the lines and exploit, this meant they never got enough troops in with favourable odds and in the end were shot to bit.

Eventually it became clear the Dervish were on to a loser and they all fled to the hills leaving His Excellency Shuan Ulrikakakaka Mutton KFC the field and incredibly, still alive.


Great fun of the campaign is that the Dervish players can just squander troops for the fun of the charge, it's the Imperials that need to husband resources. If the Dervish win a melee big time then they are through and causing mayhem.


This marked the end of game turn 5 in the campaign and whilst the last victory meant they are still able the fight the rebellion, the previous dramatic losses and the death of Gordon of Kartoon have encouraged more locals to take up arms in the holy war. Victory points for the Dervish are creeping up towards the trigger point for the arrival of British troops.

Tuesday, April 16, 2019

Return of the False Prophet of the San Juans - Part 1

So we have started a Colonial campagin in an effort to make our Colonial battles more interesting than line up and mow down the locals, our campaign if choice is downloadable here http://www.wfhgs.com/downloads.html


The campaign rules are well written and fit nicely with our chosen wargame rules http://bloodybigbattles.blogspot.com


We are currently on turn 2 and the San Juan are aflame with revolt. It is quite a scream watching the players try to sort out the mess. The pics below are from Monday's battle as the Egyptian forces landed with a strong contingent to retake Olga on Orcas Island.

The Mahdists had rolled up 19 infantry units, 8 cavalry and 4 rifle units, 1 being with repeaters. The Egyptians had 7 Sudanese inf, 2 Egyptian inf, 3 cavalry and 3 mgs that were removed from the boats. Rather than risk the boats close to the town they had to disembark up the coats and assault by land.

In this battle Shaun (who is also the Egytian Governor) and Mike played the Egyptians whilst Rodger and I played the Madhists.


His Egyptian Excellency Shaun Ramatongadownathota Mutton KFC.


The Egyptian gunboats and transports disgorge their occupants.


Mike gets excited as he explains his brilliant plan to an interested Shaun.


Roger admires the Mahdist cunning plan.


You can never have too many boats in a colonial campaign, espacially in the San Juan Islands.


Egyptian forces fan out.


No signal flags yet, hold still my brave warriors!


Contact. The Mahdists in the forward pit sacrifice themselve to slow the advance.


Mike's left flank attack seem reluctant to keep pace. Shaun just out of range along the beach.


Open Fire!! The Egypians try to cut down defenders but the walled town makes it hard.


Rodger's Mahdists move up behind cover in the centre whilst Shaun assault the walled town.


Shaun is thrown back and in the centre Rodger launches our counter attack.


View along the battle lines.


The central fight grows as more troops are poured in to support various assaults.


The Mahdists are repelled but the town holds firm.


Mike's flank units are sucked into the central melee.


More lives sacrificed to thegatling gun to allow charges to hit home.


View from the Egyptian perspective.


Thousands of 'em!


Calamity strikes. Exploitation moves see the Mahdists tear through the ammo mule and hack down His Egyptian Excellency Shaun Ramatongadownathrota Mutton KFC causing despair amongts the Egyptian forces.


Rodger's final assualt adds to Egyptian woes and they give up and leave the field.


In campaign terms the Egyptians managed to leave the field in good order, only suffering a further 10% casualties. But they lost 2 complete units and loads of other were down 25%. For the campaign Mahdist losses are inconsequential as the generate  units for each battle that occurs. On the plus side for the Egyptians it does mean the British arrival will be triggered much sooner than thought.

We mark the passing of His Egyptian Excellency Shaun Ramatongadownathrota Mutton KFC but welcome the appointment of His Egyptian Excellancy Shaun Abdab Yabadabadoo Mutton KFC. The third member of the mutton dynasty to be givent eh job after the previous two were tragically cut down on the field of battle.

His Egyptian Excellancy Shaun Abdab Yabadabadoo Mutton KFC.


Saturday, September 28, 2013

Battle of Kirbekan - BFE v2 AAR Sept 2013

So with version 2 of BFE out we've been racking up the games. After a plea for Sudan scenarios on TMP I was pointed in the direction of Stuart Asquith's fine scenario book Warfare in Egypt and the Sudan. The first copy that arrived sadly was misprinted but Dave sent me a new one as soon as I told him and I was soon reading avidly.

For the regular Monday night game I selected the Battle of Kirbekan (Feb 1885 Sudan) but with an added gunboat since I knew the Dervish were unlikely to obligingly sit on the ridge. I gave the Dervish some artillery and cavalry to compensate since at the level we were playing the scenario suggested there would not be many.

Dave Manley took command of the gunboat along with Marines, Naval company and Gardner gun. I took the centre with a gun, 1 Egyptian company and 1 of the Staffs companies whilst Dave Pike had the other Staffs, 1 Scots, a gun and the cavalry. The Sudanese were played by Paul , Chris and Rodger.

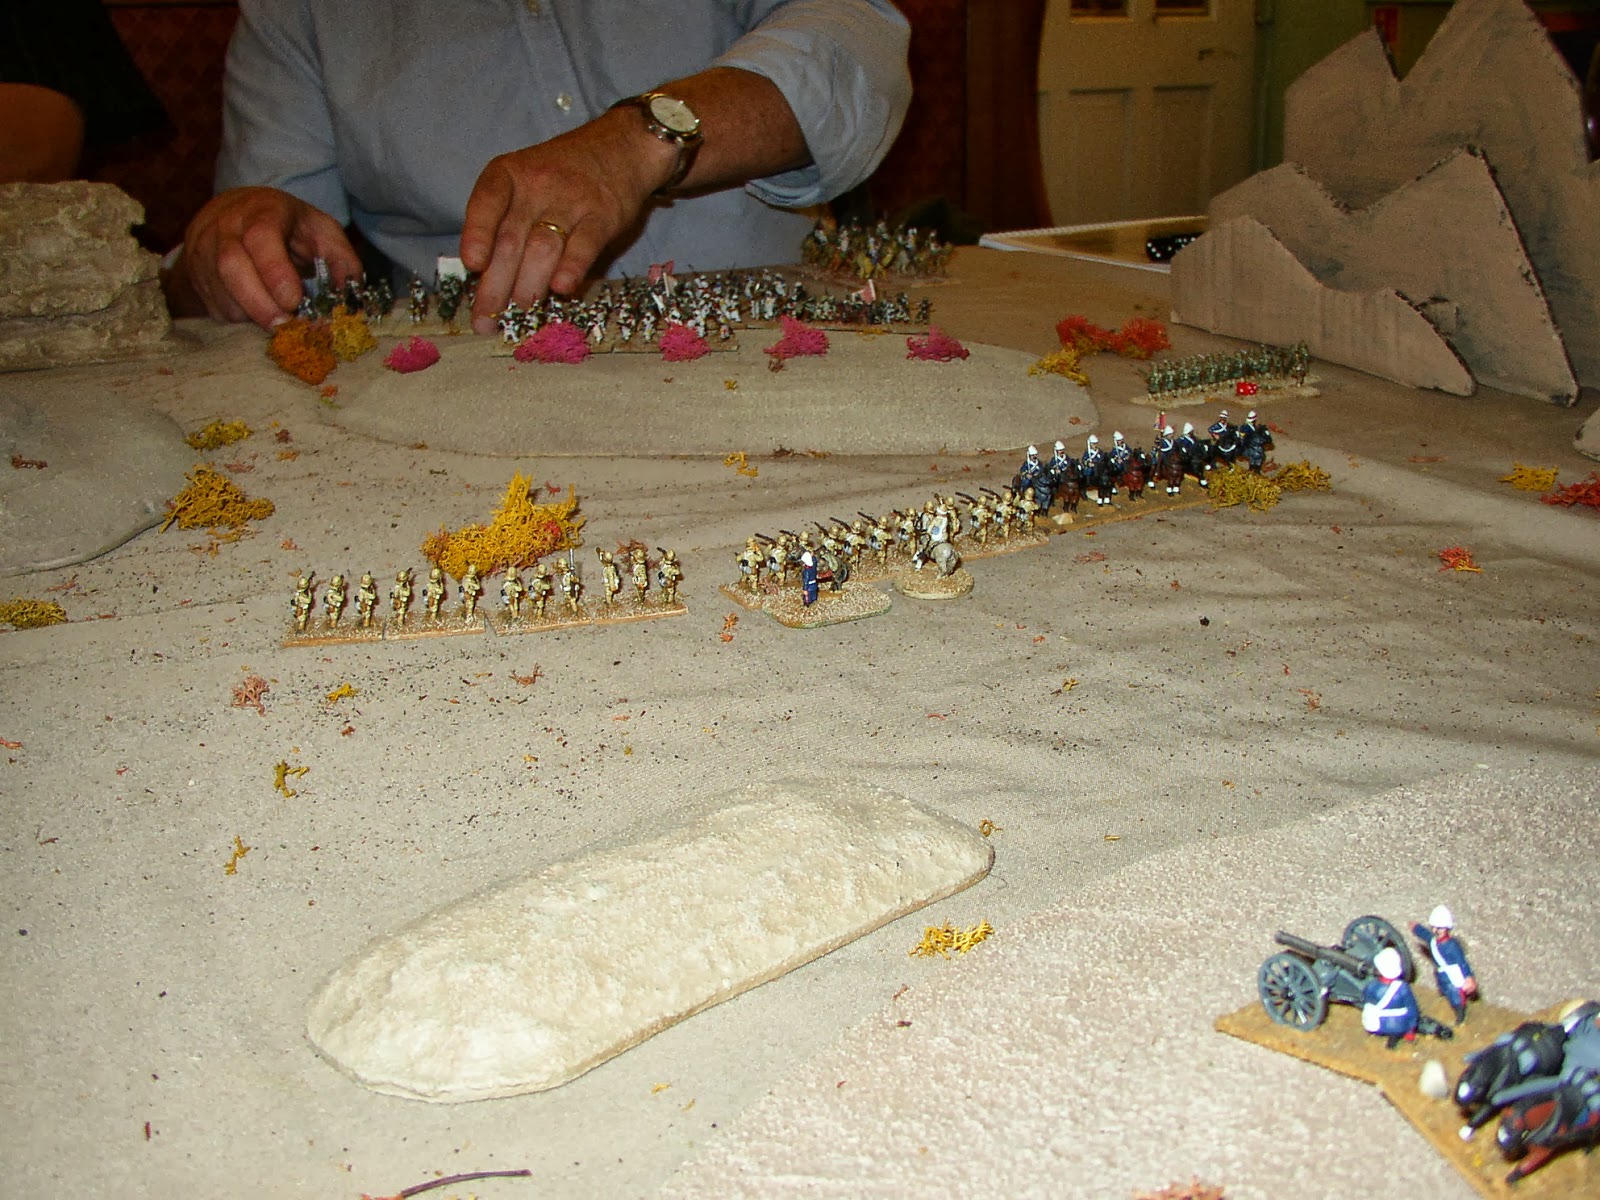
British deploy more or less as per scenario (other than the gunboat of course) whilst the sneaky Dervish hide behind the ridge.

The gunboat (from Peter Pig) prepares to move up and flank the Dervish.

After a few opening salvos the British advance in the centre to enable a better view for the artillery.

Dave Pike matches the advance on my right tying up the Dervish Cavalry. Dave Manley's naval troops bring fire upon the Dervish right.

Dave Pike's position looks tight as the dervish fear coming over the hill.

So Dave decides to go get them... and that's where it all went wrong.

I deploy into line to protect the artillery as Paul's Dervish decide to move up the hill whilst Chris in the centre is racked with indecision.

Dave Pike's troop seem to have vanished apart from the Staffs in line and about to get hammered in the flank. I break off to go try and support them. It's not looking great and we are close to break point.

Meantime Dave Manley's crew do fine work rolling up Paul's flank and we inch closer to the Dervish break point.

But it's not enough and Dave Pike's last company gets massacred giving the Dervish victory. Sadly the official photographer was lost in the rush to get back on board the gunboat so there are no pictures of the final moments of the battle.

Another good game and we do seem to be getting the hang of these rules now.